Make This Look Expensive™Studio · The Lindsey Effect
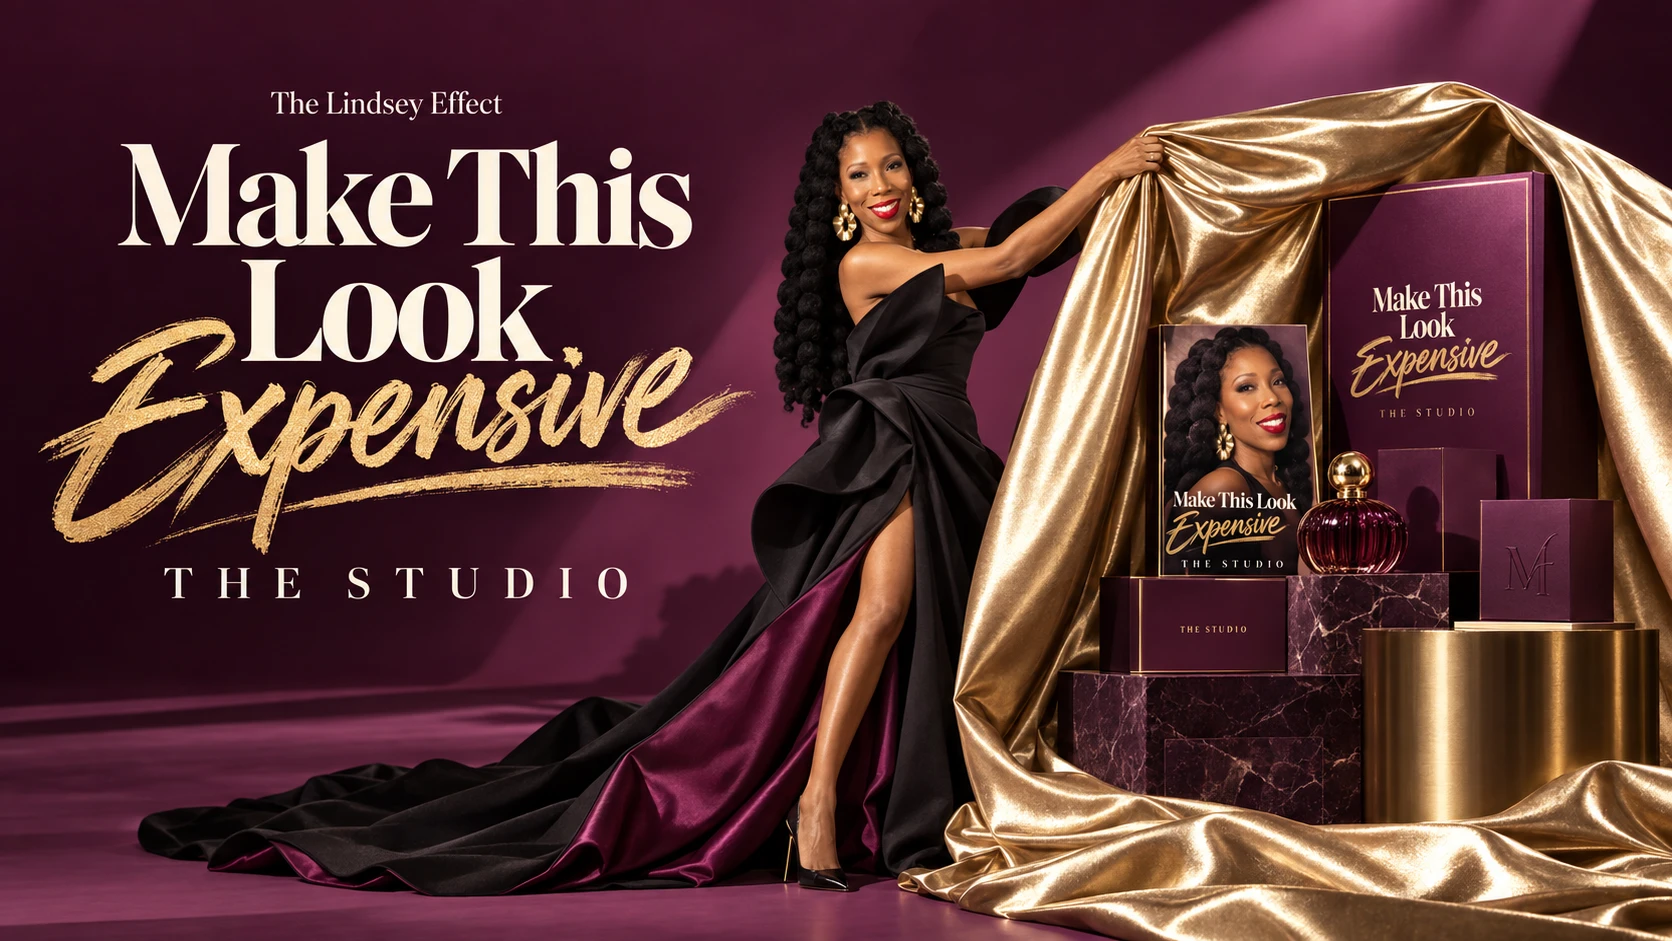
Make This Look Expensive: The Studio, by The Lindsey Effect. Danielle Lindsey in a black-and-plum gown pulls back a gold satin drape to reveal a plum and gold product display.

Make This Look Expensive™ · The visual launch studio

Let’s make sure it looks worth buying.

You’re finally building something to sell. Your product deserves better than five different design styles, a rushed cover and an AI photo you’re still trying to convince yourself looks right.

Create the brand visuals, founder images and launch assets that help you introduce your offer with confidence. Your product. Your presence. A look that belongs to your business.
The problem

You keep changing the graphic because the whole look still feels off.

The logo is elegant. The cover is loud. The website looks like a different business. Every new image sends you in another direction.

You need a visual direction you can carry from your product to your page to the post that introduces it. That is the work inside Make This Look Expensive™. Below: three real Money Moves™, before and after the Studio.

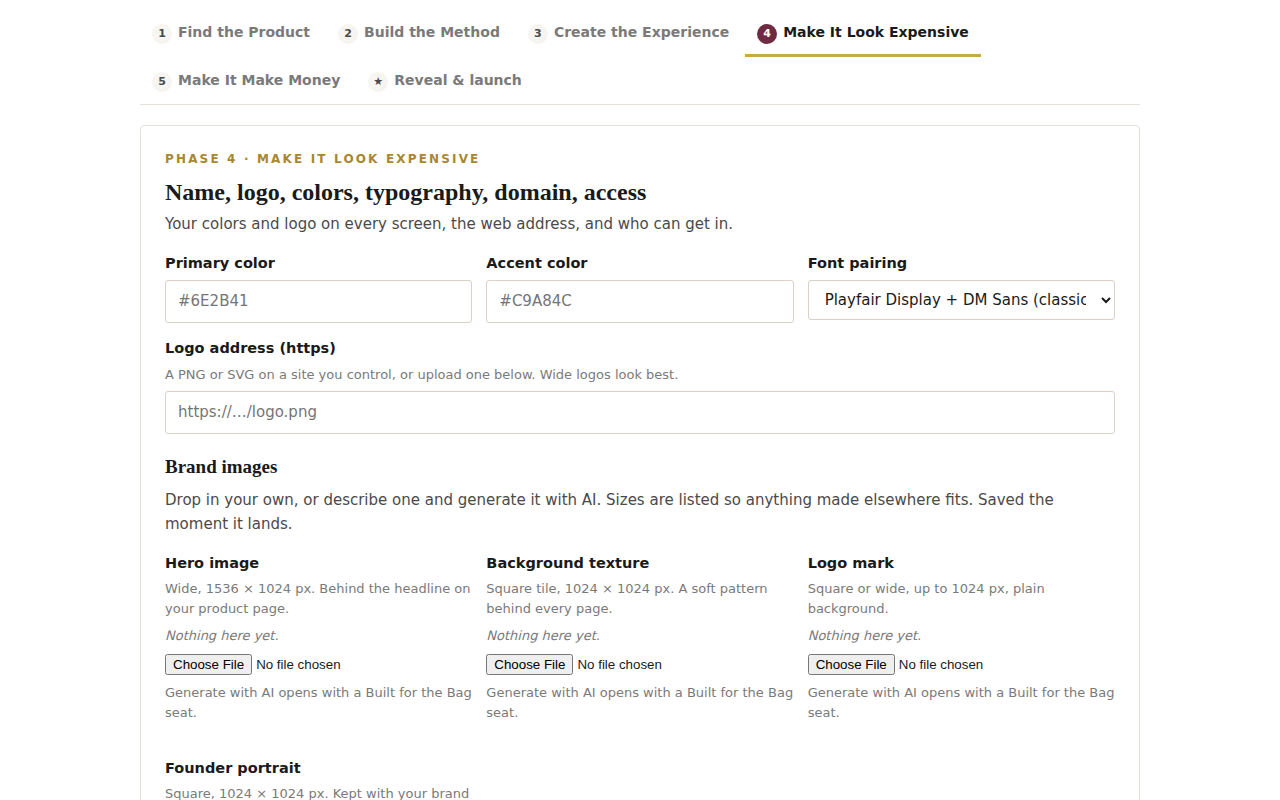
The Vault Builder studio, phase 4: name, logo, colors, typography, domain and access.
Before · the product screen
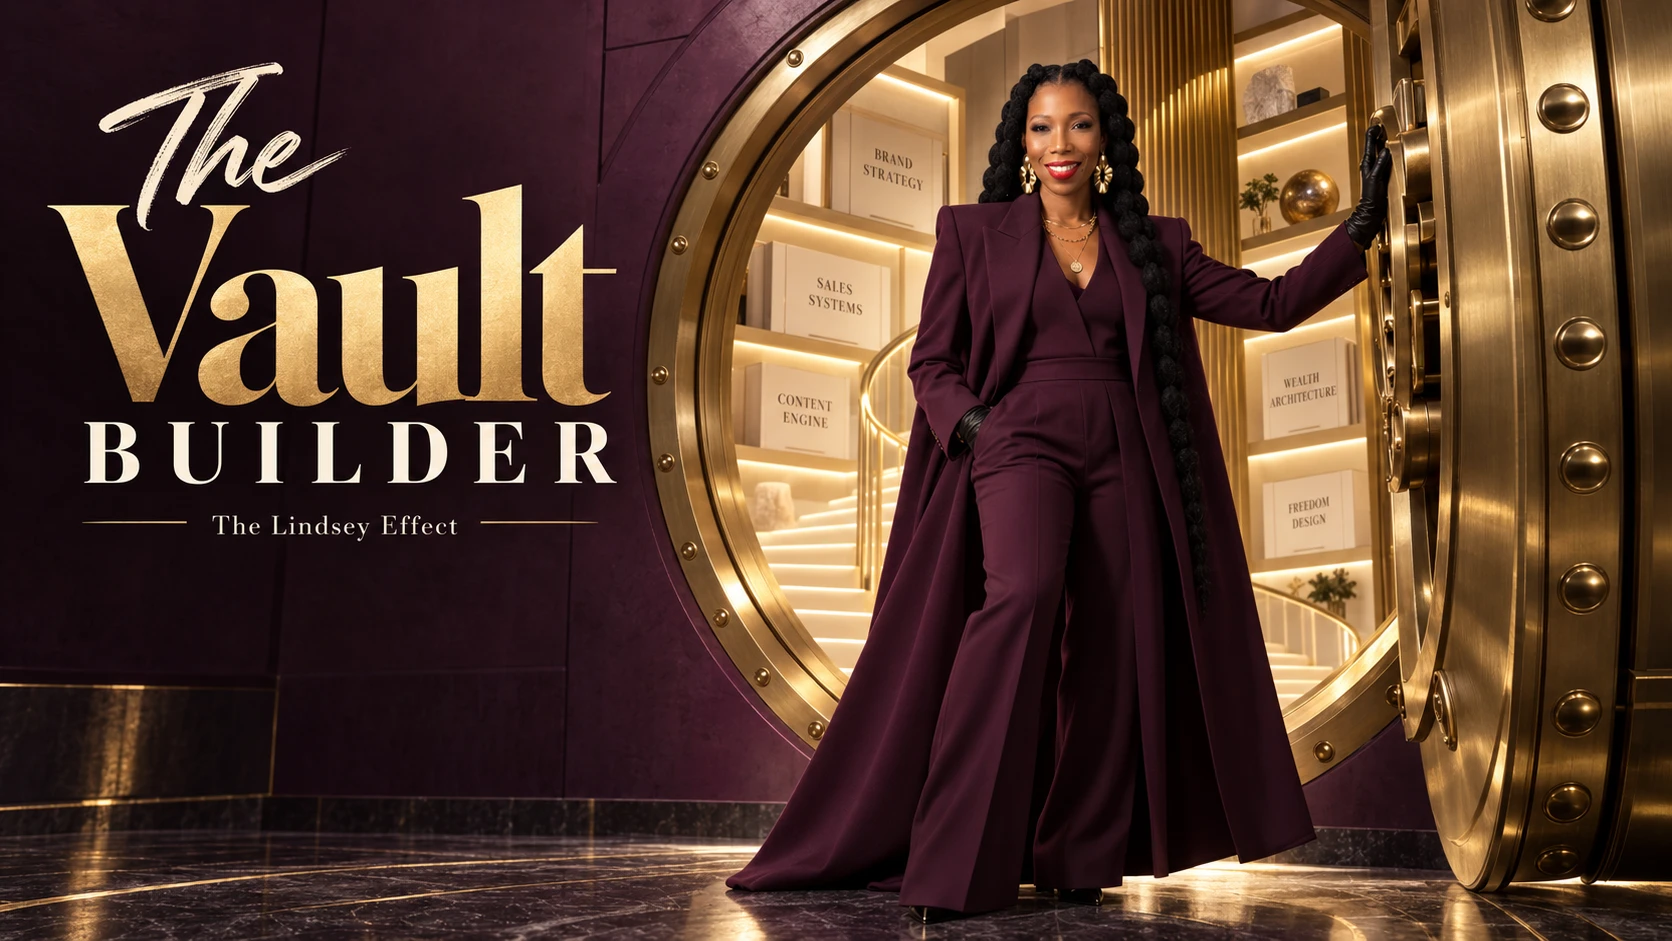
The Vault Builder campaign portrait: Danielle in a plum suit at the open door of a gold vault lined with labeled boxes.
After · the campaign portrait
01The Vault Builder™
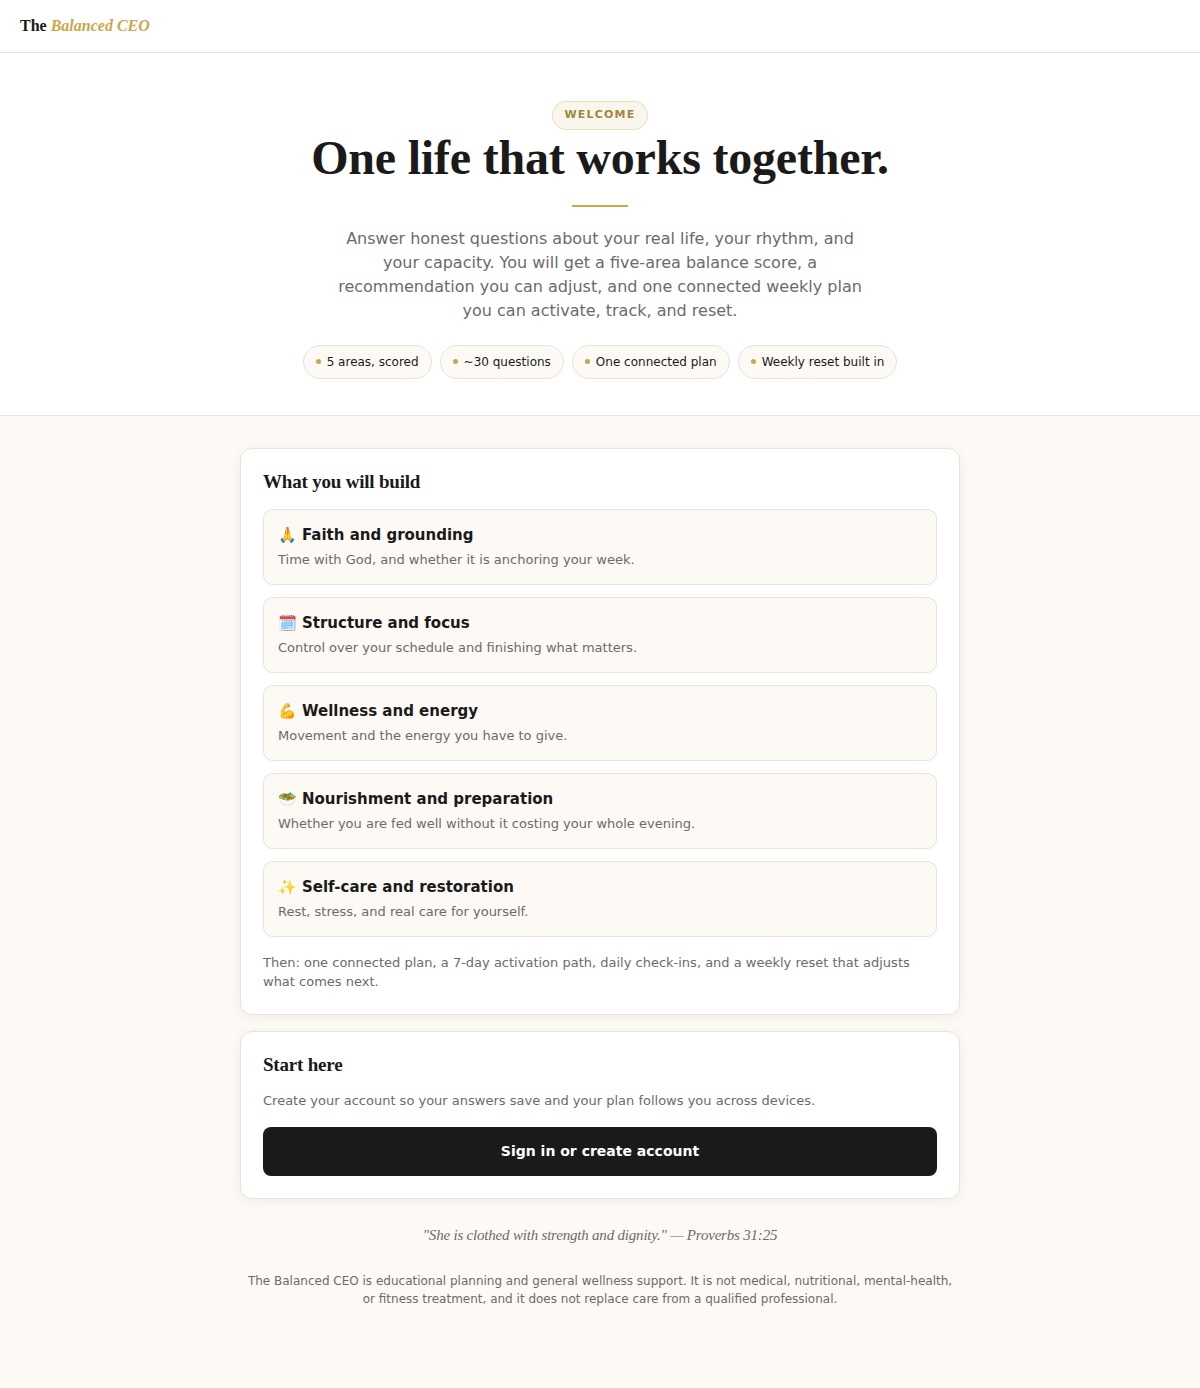
A plan product's welcome page: One life that works together.
Before · the product screen
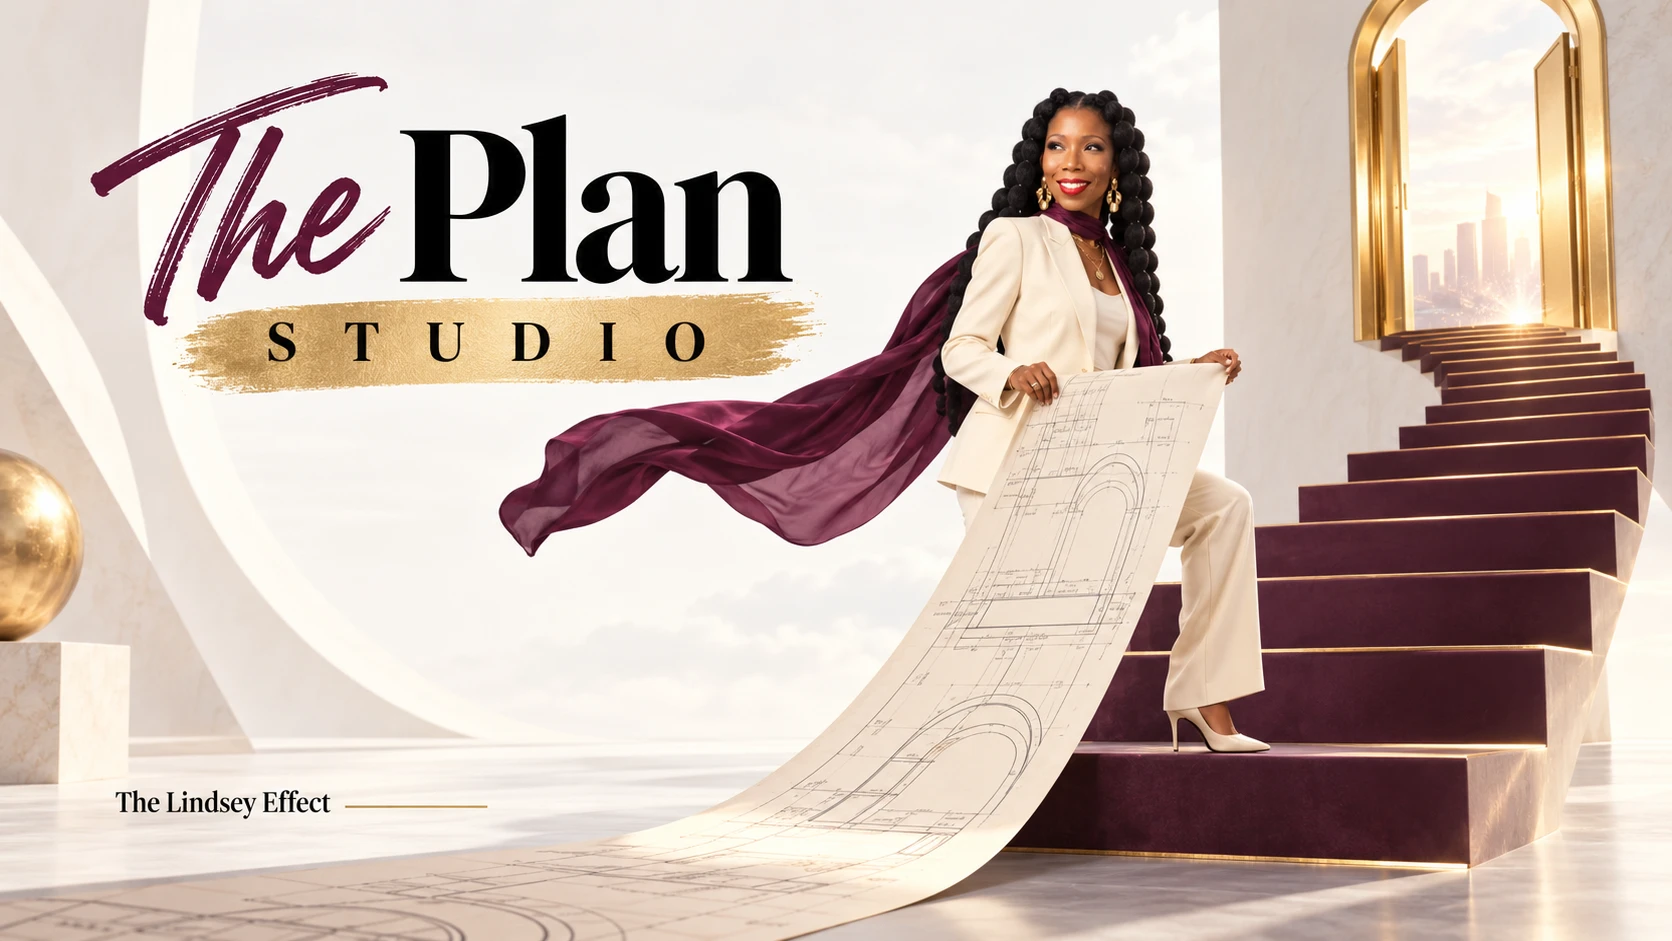
The Plan Studio campaign portrait: Danielle in cream on a plum staircase, a blueprint unrolling from her hands.
After · the campaign portrait
02The Plan Studio™
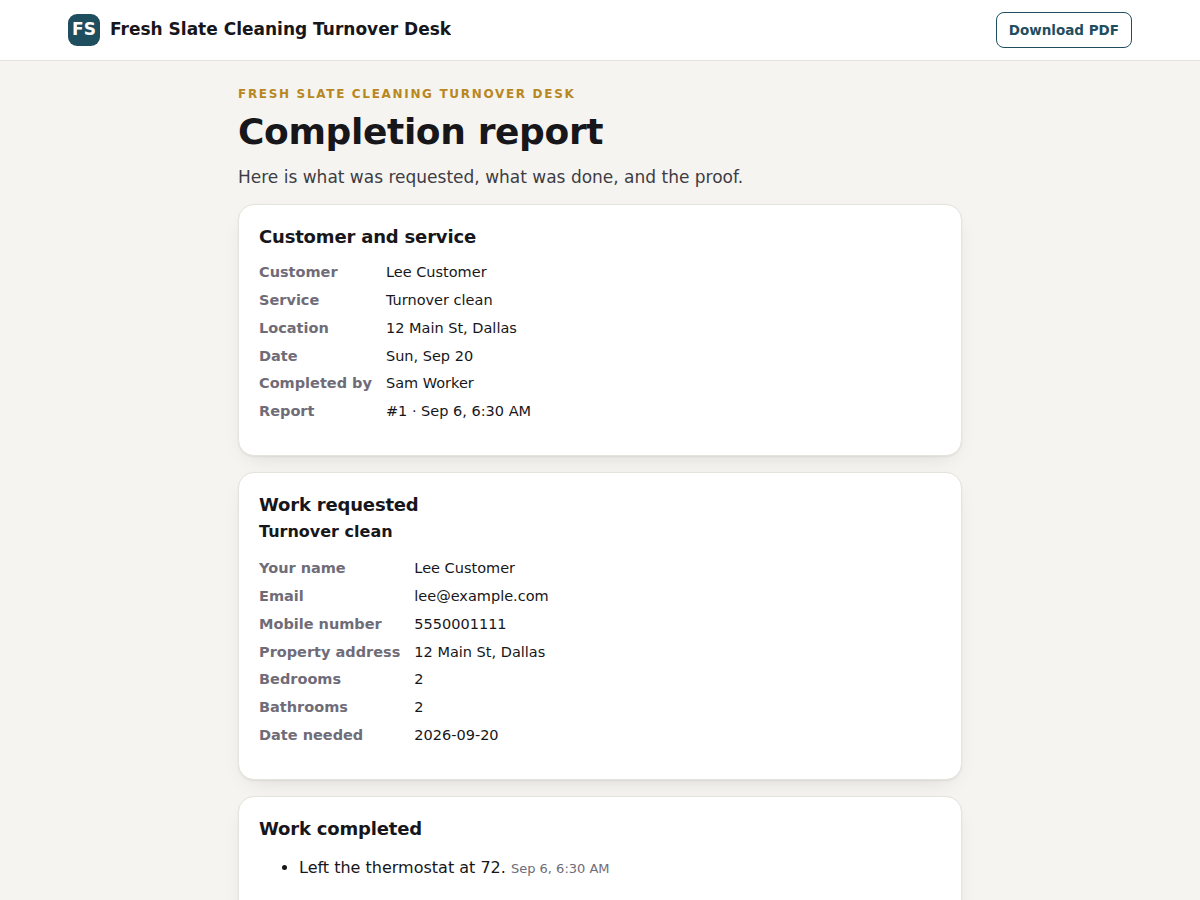
A Handled completion report sent to the customer.
Before · the product screen
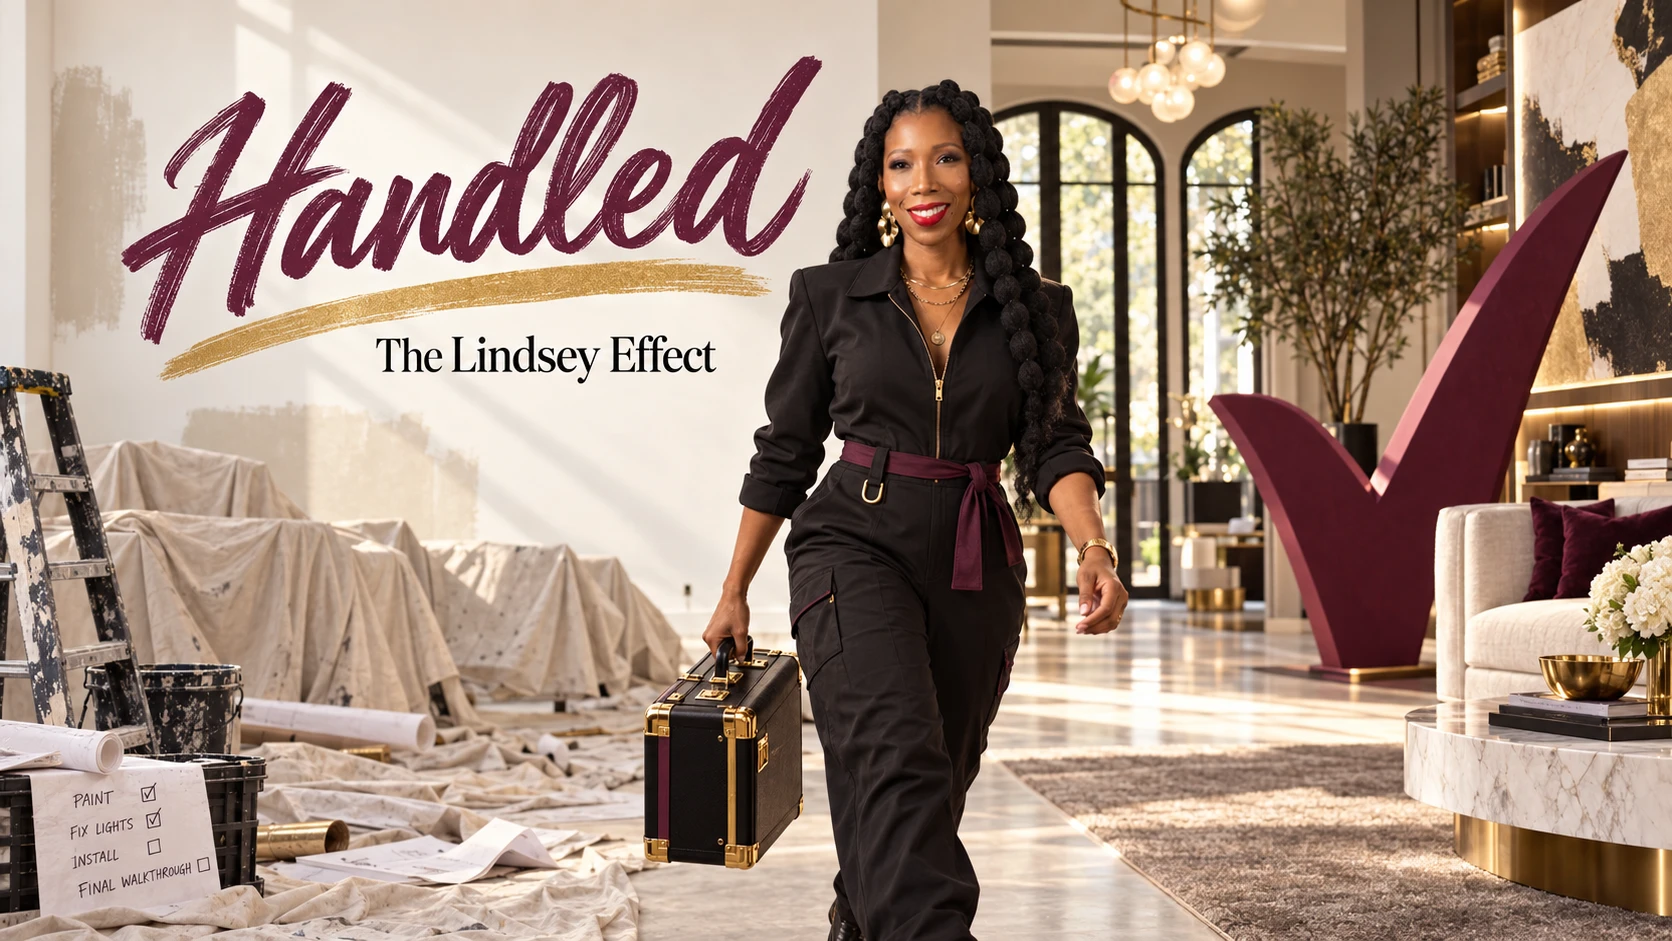
The Handled campaign portrait: Danielle in a black jumpsuit carries a toolcase from an unfinished room into a finished one.
After · the campaign portrait
03Handled™

What you create

Build the visuals your launch actually needs.

Six labs, one brand profile remembered everywhere. Each lab builds around your product, so the logo, the photos, the video and the page read as one business.

  1. 01

    Brand visuals

    Your logo direction, colors, font pairing, backgrounds and mockups — the direction, the prompt and the Canva build.

  2. 02

    AI brand photoshoot

    Founder portraits, editorial images and product-launch visuals built around your brand — and around your own face.

  3. 03

    Motion

    Image-to-video and promotional motion assets that support the offer. Pick the motion, copy the prompt.

  4. 04

    Talking-head video

    The presentation, setup and delivery that help you show up clearly: hooks, script, teleprompter, set, b-roll, captions.

  5. 05

    Launch assets

    Covers, promotional graphics and visuals for the campaign you are preparing — one visual direction across all of them.

  6. 06

    Website direction

    Bring the look together across your page so the offer feels like one business — with an honest completion gate.

The Expensive Eye™

You can tell something is off. Get help naming it. The coach reviews your visual work and identifies a correction to focus on. Adjust the image. Tighten the layout. Bring the assets back to your brand direction. Make the next version a deliberate improvement.

Open the Studio

Real sample assets

The finish, by category.

Every image below is a real asset from a Lindsey Effect product, made the way the Studio works.

01

Starting photo to campaign portrait

The same founder, a product-specific wardrobe, an action and a setting. One portrait carries the whole campaign.

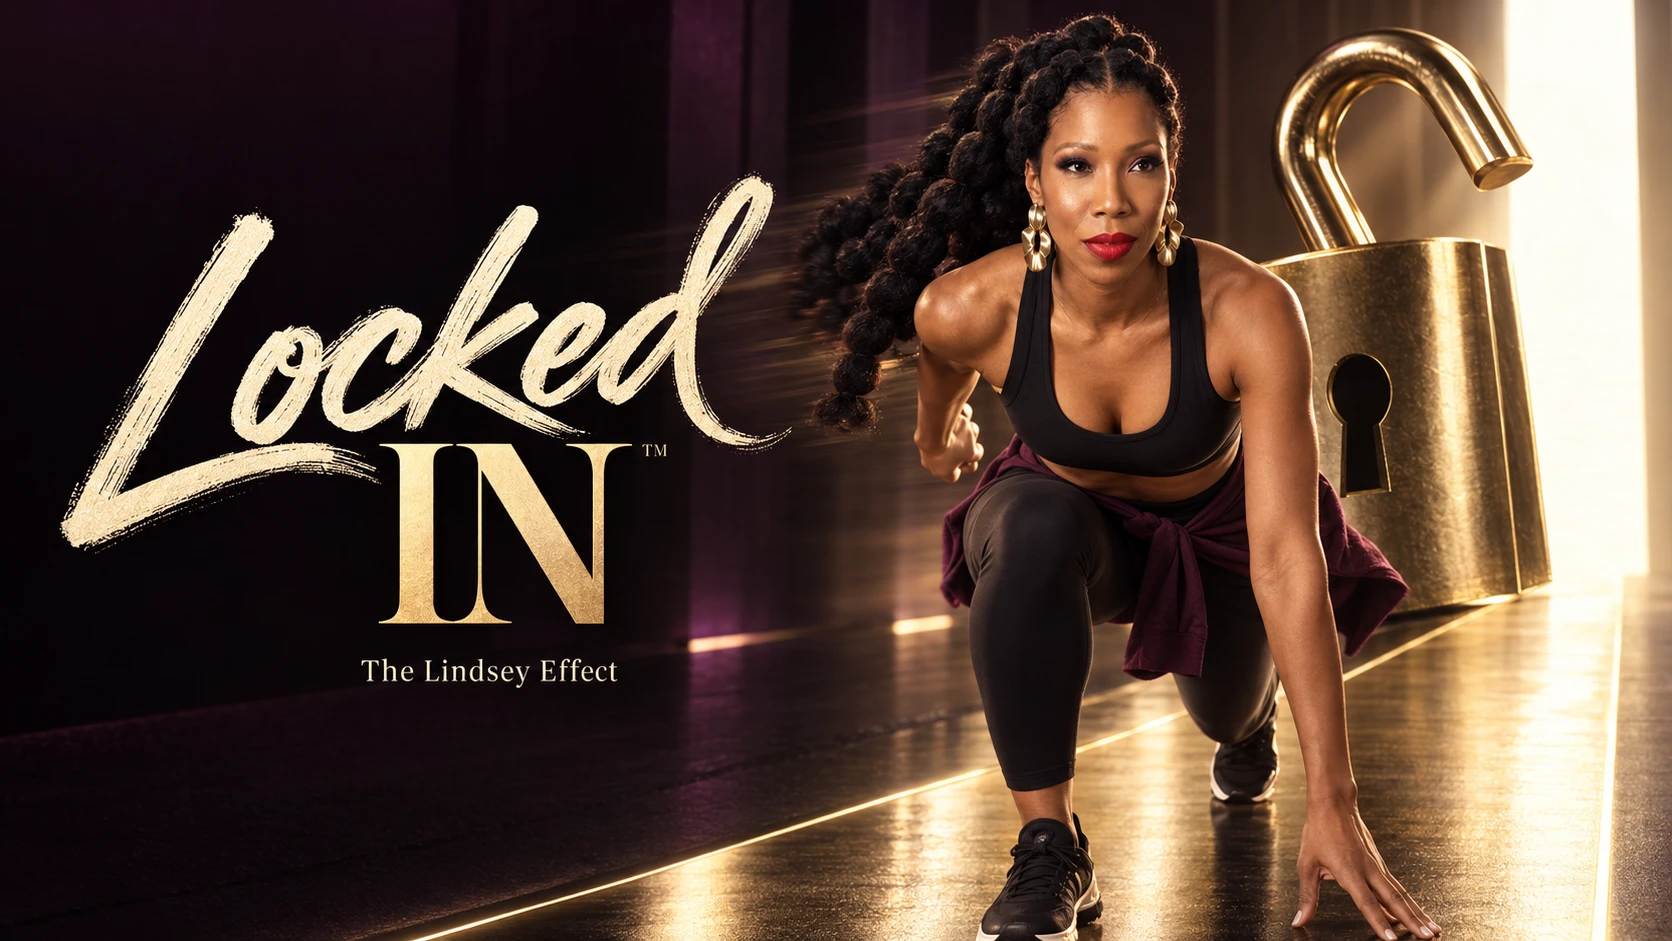
Locked In campaign portrait: Danielle in a runner's start position in front of a gold padlock.Locked In™
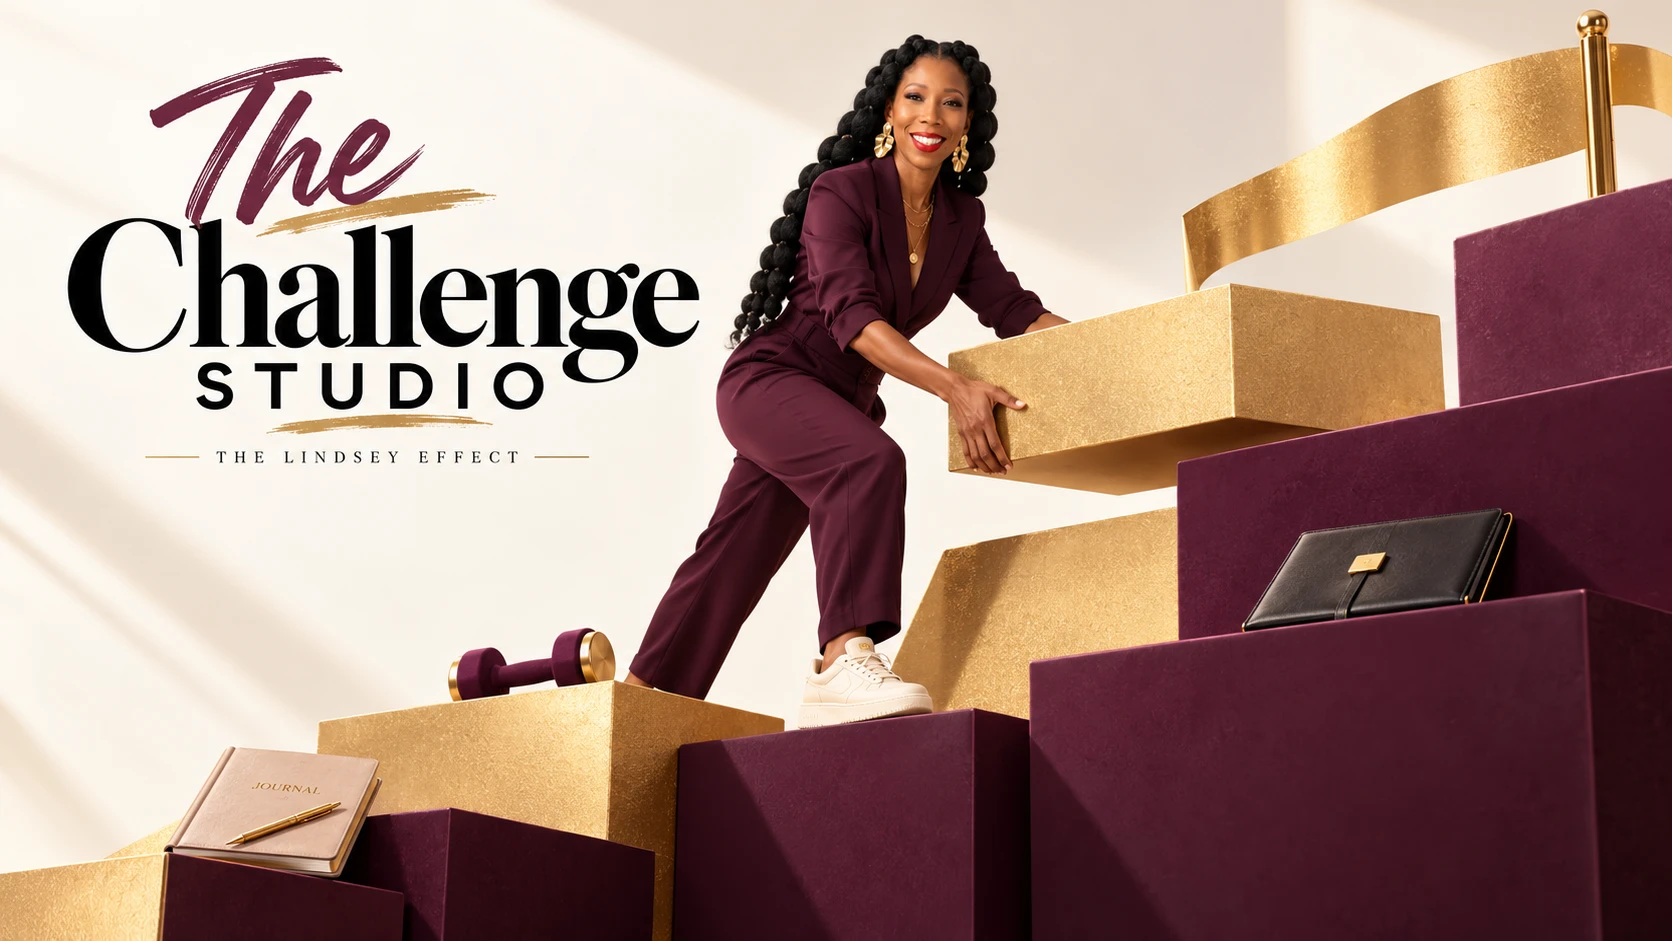
The Challenge Studio campaign portrait: Danielle in plum lifting a gold block onto a staircase of plum and gold blocks.The Challenge Studio™
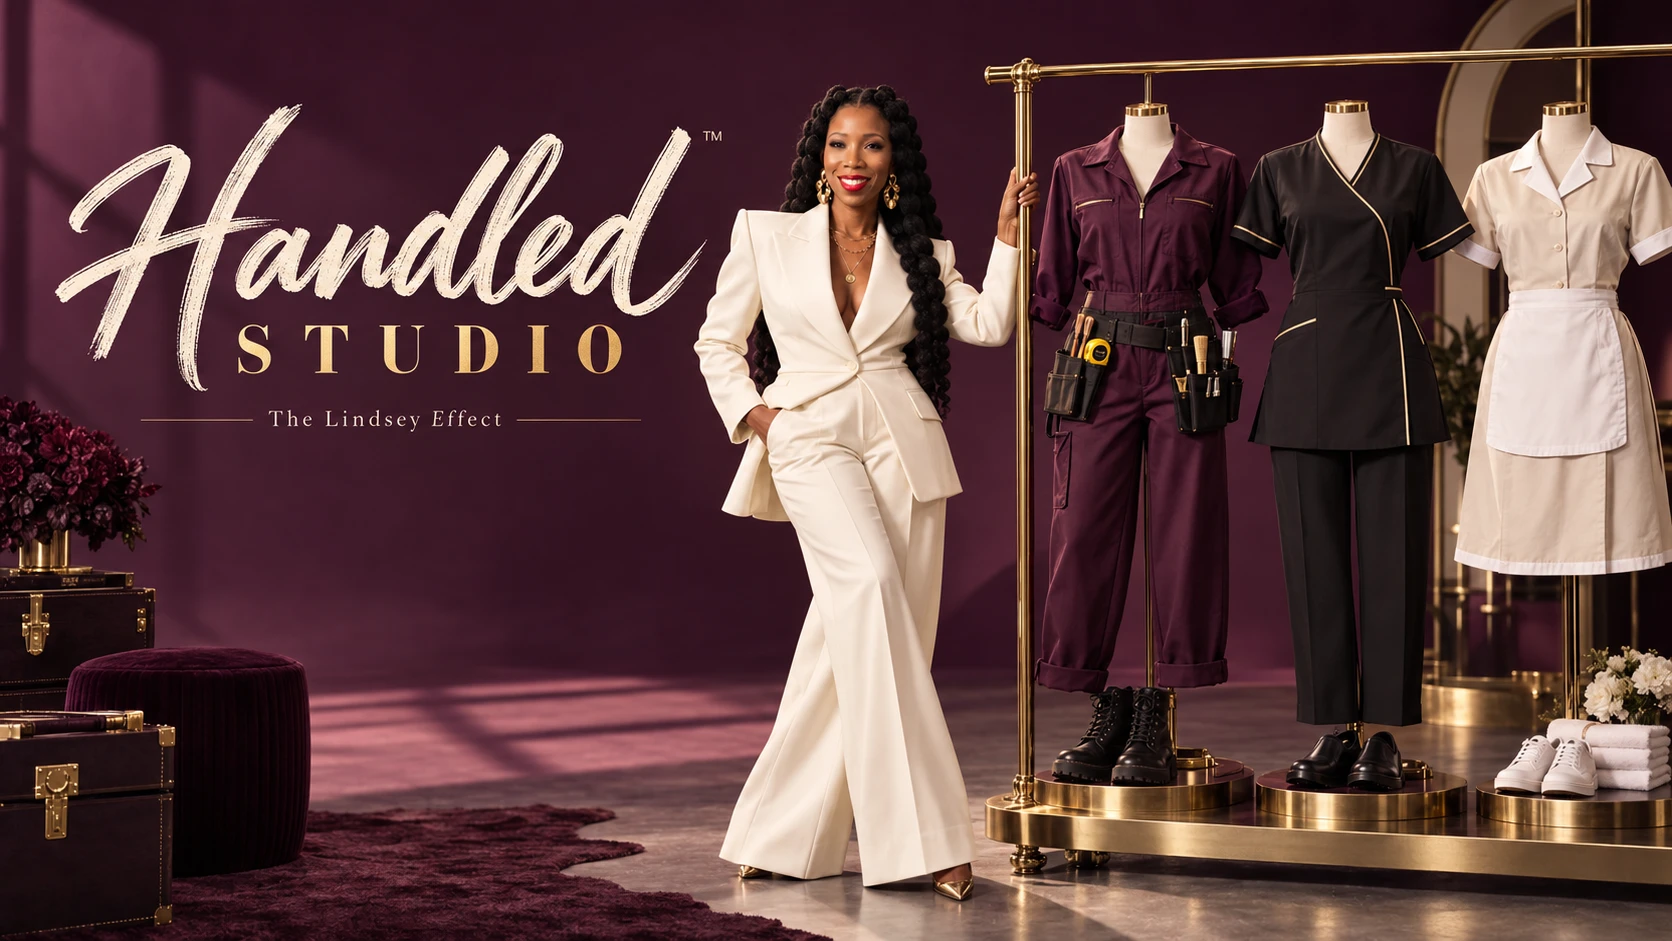
Handled Studio campaign portrait: Danielle in a cream suit beside a brass rail of industry uniforms.Handled Studio™
02

Basic product to polished mockup

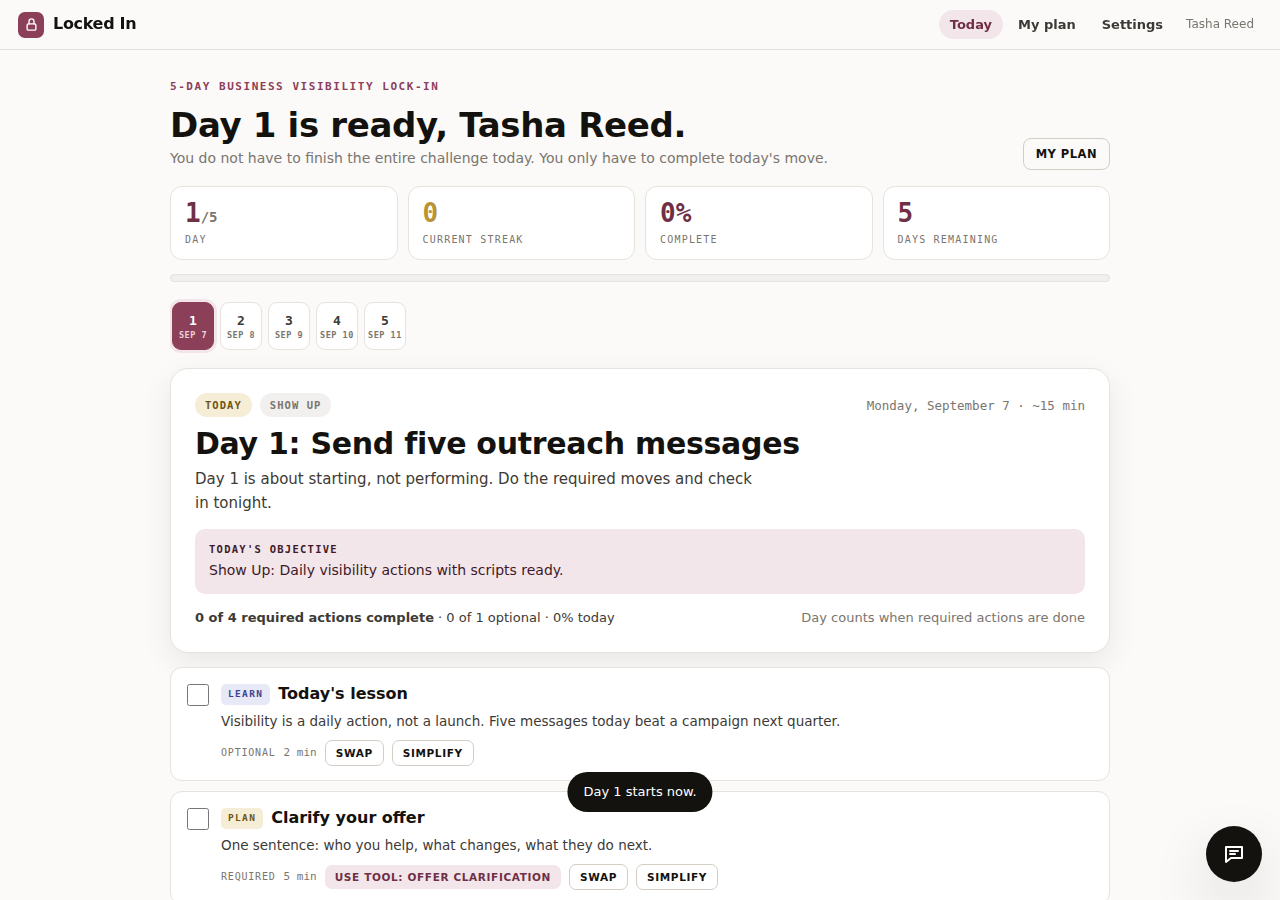
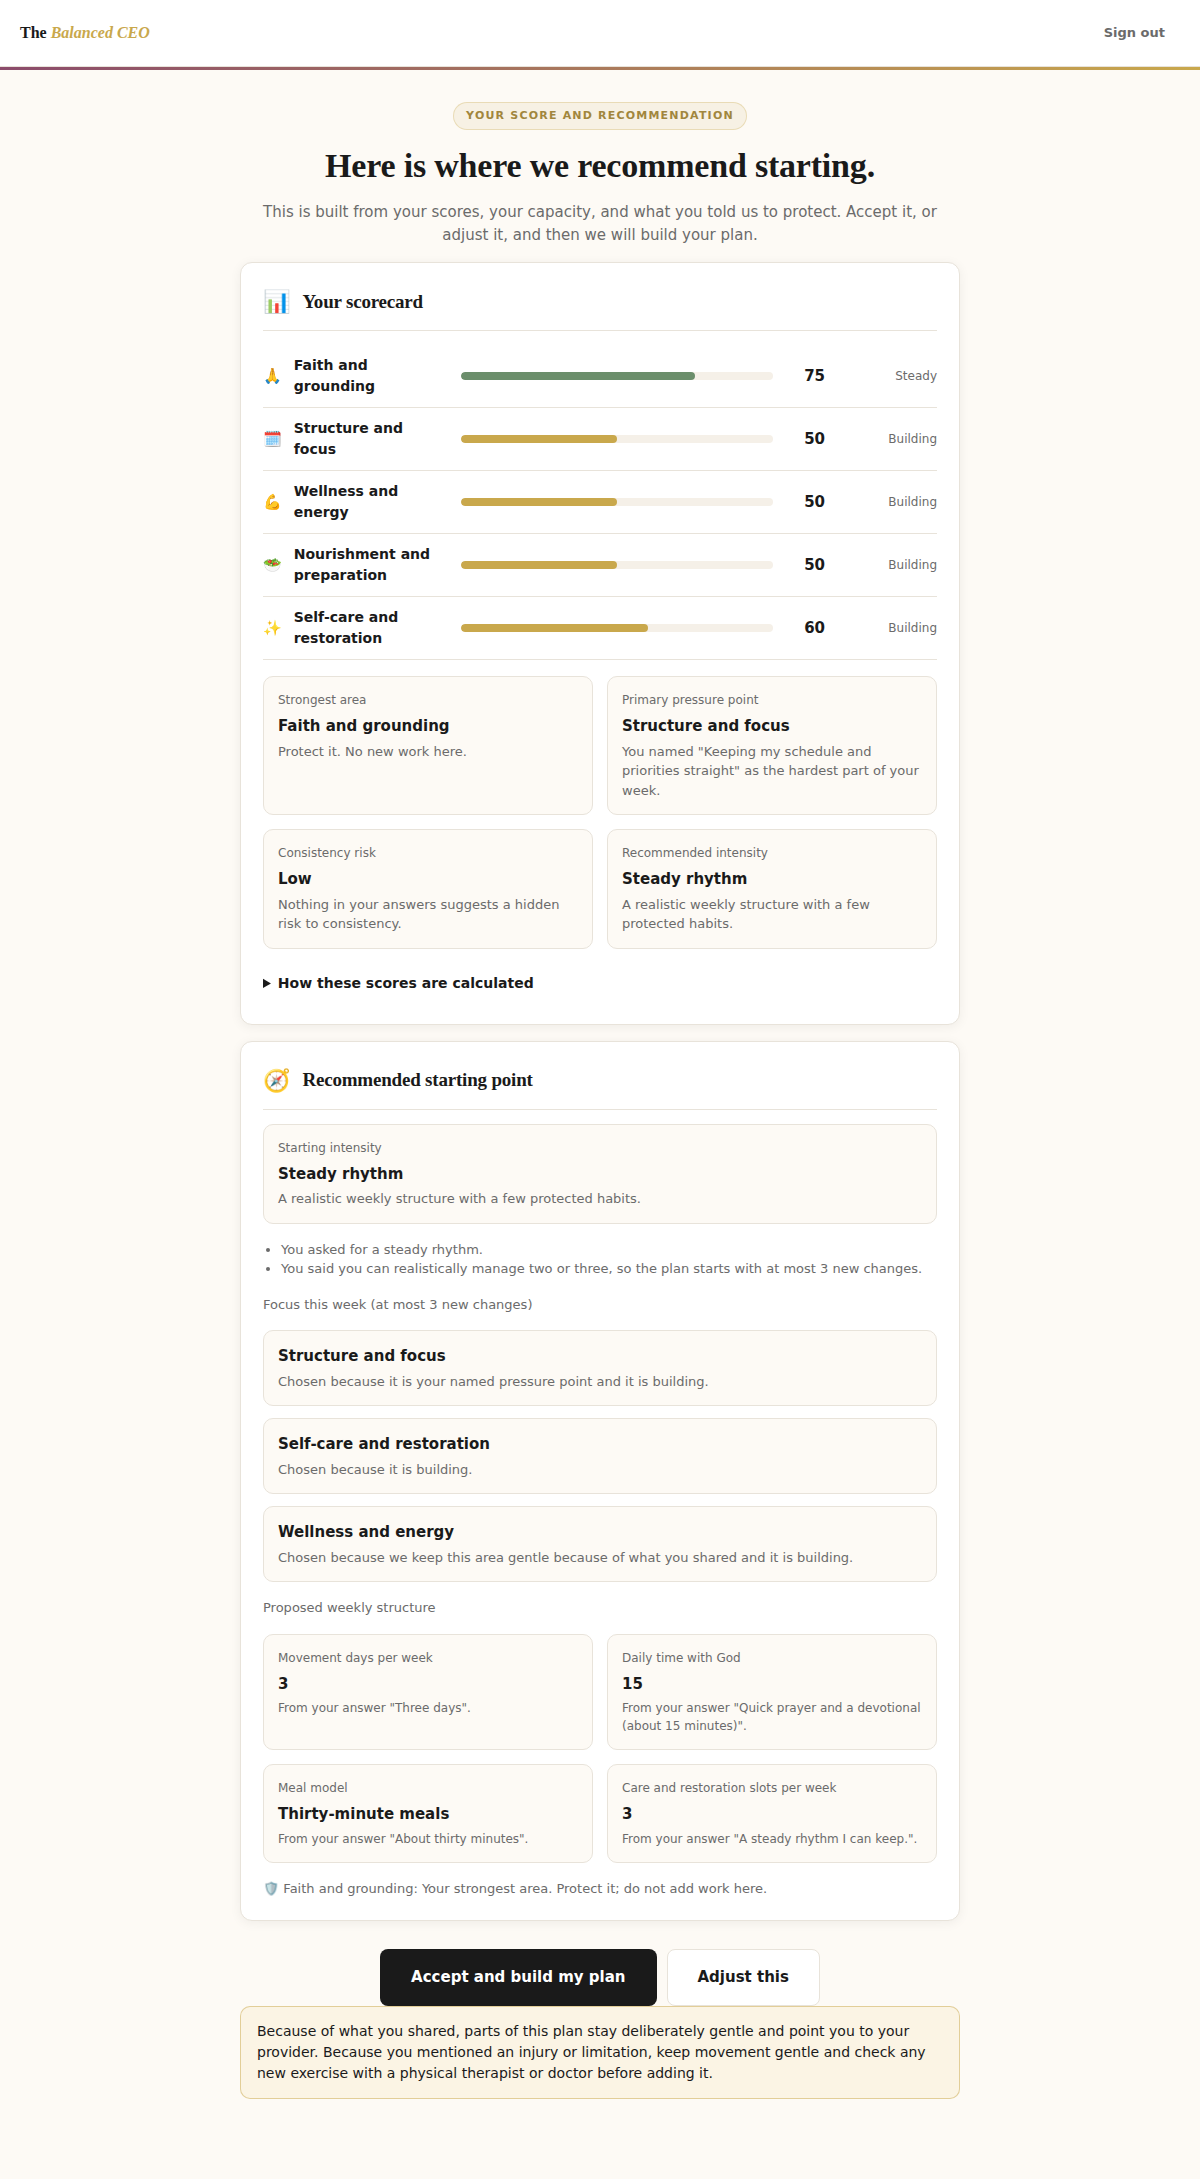
Real product screens, framed. The customer's vault, day one of a challenge, a personalized plan.

The customer's Vault: the readiness score.
Day 1 of a built challenge.
A plan's scorecard and recommendation.
03

Brand inspiration to coordinated assets

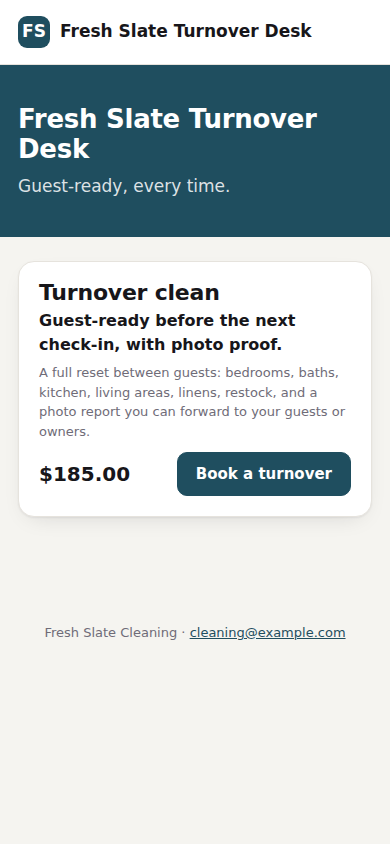
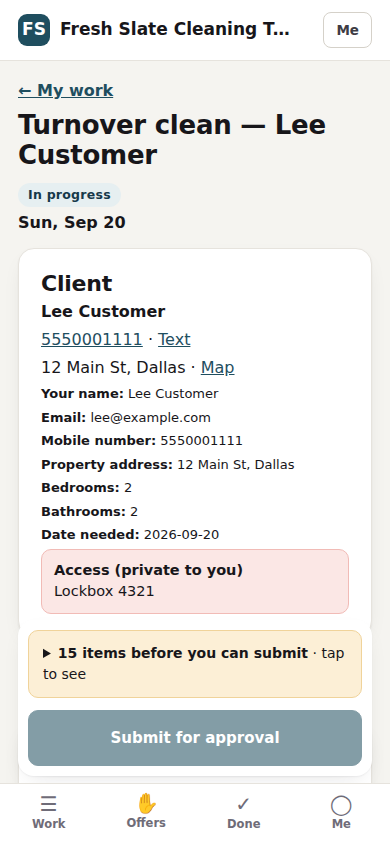
One visual direction across the campaign portrait, the storefront, the worker's phone and the customer's status page.

Handled campaign portrait, wide crop.Campaign portrait
The branded storefront on a phone.Storefront
The worker's phone: the job, the checklist, submit for approval.Worker's phone
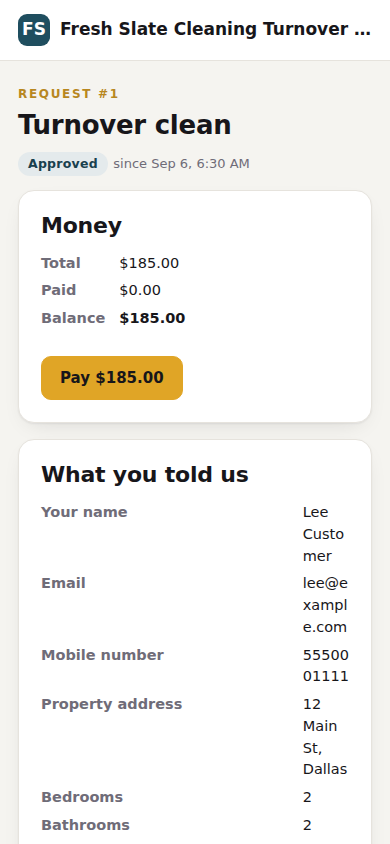
The customer's status page on a phone: where the job is, the balance and a Pay button.Customer status page

How the studio works

Fill it once. Build from it everywhere.

  1. 1

    Your brand, remembered everywhere

    Fill in your brand profile once — every lab builds from it so you never re-enter it. Built your product in the Built for the Bag™ studio? Import your Brain and most of this fills itself.

  2. 2

    Work the six labs

    Pick what you need in each lab. Every output is built for your product — prompts, scripts, shot lists, campaign briefs and a website plan, with the quality bar built in.

  3. 3

    Ask the Expensive Eye™

    Show it a prompt, a cover, a doubt. It reviews the work against your brand direction and names the one correction to focus on. The scorecard is a visual review of the asset, not a prediction of sales.

  4. 4

    Download your launch brief

    Your work saves in this browser only — download your launch brief before switching devices.

    AI runs on the class key from your confirmation link, or a personal key you paste; no accounts or credentials are ever shared.

Early builder sessions · Included with early registration

Get the look together before your product-building class.

Session one · September227pm CT · Live online
Session two · September247pm CT · Live online
Session three · September297pm CT · Live online
Session four · October17pm CT · Live online

Register for Built for the Bag™ by September 21 at 11:59pm CT to join four live Make This Look Expensive™ working sessions with Danielle: September 22, 24, 29 and October 1, 7pm CT. Attend one or all four; the links arrive in your confirmation email.

The sessions are included with eligible early registration for the $147 class seat. Studio access is separate from attending: the Studio opens from this page, and The Expensive Eye™ coach wakes with the access key in your confirmation email.

$147 Founding Builder Seat · One-time payment · Private replay included

Straight answers

Before you open it.

  1. Is this the same as the Anti-Masterclass?

    No. Built for the Bag™ focuses on your product build and first sales campaign. Make This Look Expensive™ focuses on the visual assets that present it.

  2. Does AI finish every asset for me?

    AI helps create drafts and visual directions. You review, refine and approve the assets. Final logo lettering and export formats may need finishing in your design tool.

  3. Is a separate Studio purchase required for the early-builder sessions?

    The advertised live sessions are included with eligible early registration. Review the access details supplied with your registration.

Stop hiding the offer behind visuals you’re not ready to share.

Give the product a look you can carry across your page, your photos and your launch.

Explore Make This Look Expensive™

The Studio

Already registered? Open the Studio from the link in your confirmation email — it carries your access key and wakes The Expensive Eye™. Everything else in the Studio works without it.

The Expensive Eye™trained on the method